

Relationship wizard
In order to provide a new relationship, the relationship wizard might be called from the relationship list, which can be activated by clicking the Relationships tab on the Members tab for the selected data type.
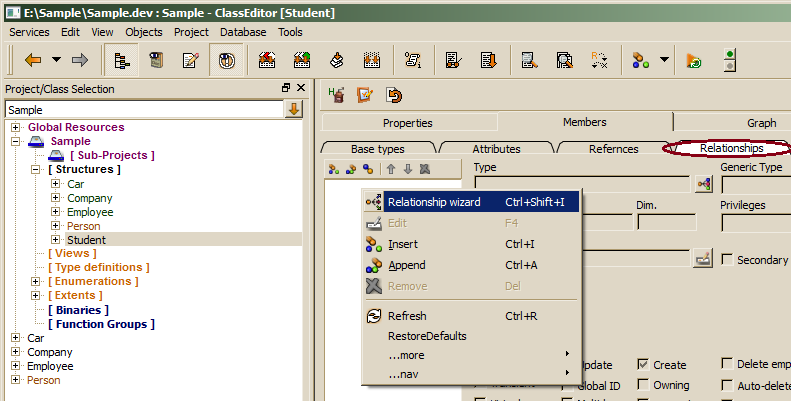
The relationship wizard cannot be used for updating relationship properties, which has to be done directly in the relationship editor form right of the list.
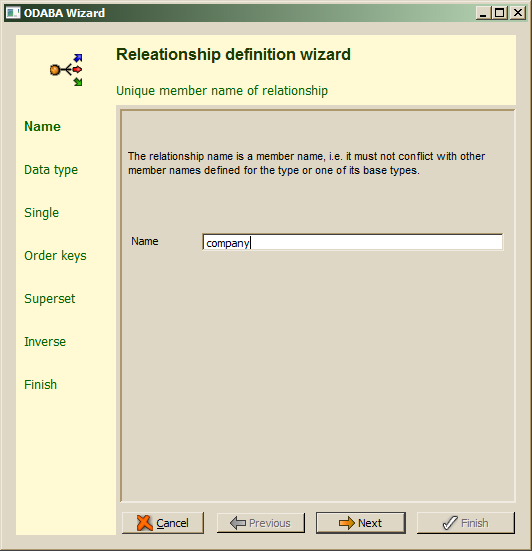
Relationship names have to be unique within the members defined for a data type and its base types. Relationship names are technical names and must not contain special characters or spaces except underscores. After filling in the relationship name, Next should be pressed in order to continue. When the relationship name is not correct or has already been defined as member for the data type or one of its base types, an error will be displayed in the wizard's message area.
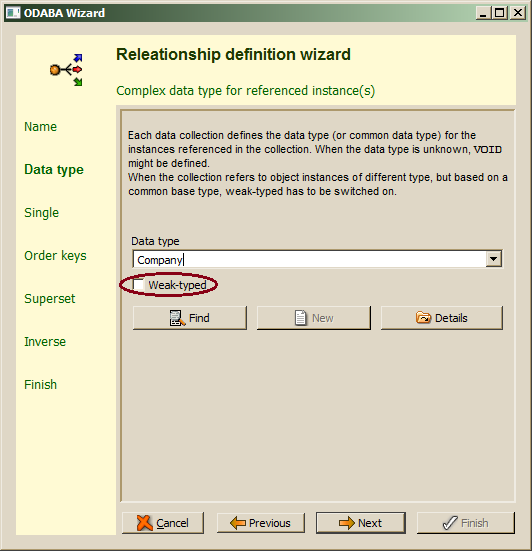
Relationships always refer ton complex data type instances. For selecting a complex (user-defined) data type, one may enter the type name directly in the Data type field or use enhanced find by pressing the Find button, which allows selecting a data type defined in the project or a system data type. When the data type entered does not yet exist, one may enter the new data type name in the field and press the New button. In this case, a sub wizard for defining new data type pops up (Data Type Wizard), which is described in chapter "Data Type Wizard". For viewing the type definition for the selected type, the Details button may be used.
When instances with different data types are to be stored in the relationship (collection), all referenced instances must inherit from the data type defined in the Data type field and Weak-typed has to be enabled.
The Next step allows choosing between a multiple or singular relationship.
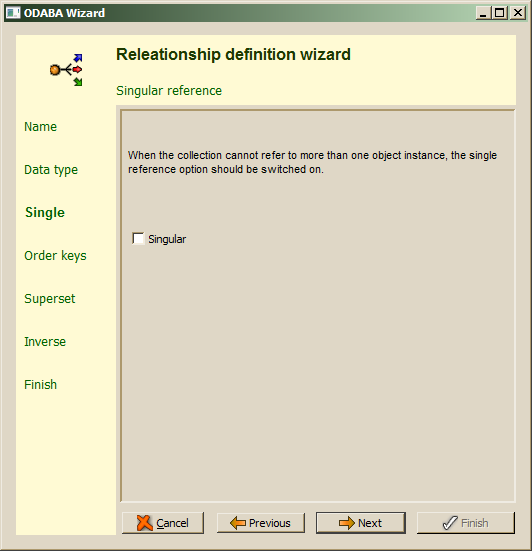
In case that the maximum number of instances in a multiple relationship collection has to be limited to a value greater than 1, the collection size (dimension) has to be updated later in the relation editor form right of the list. When a multiple relationship has been defined, the Next step allows defining access keys (sort orders) for the collection.
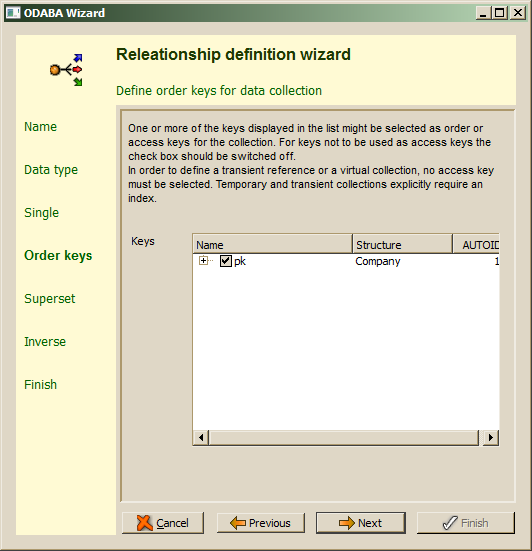
Key definitions for the data type of the relationship are listed as access key candidates. By default, the primary key is selected to be used as access key. One should select, however, only those keys, which are really needed for ordering the relationship collection. In order to maintain base collections properly, the primary key should always be selected.
When an extent has been defined for the relationship type, the wizard will request an extent definition in the next step.
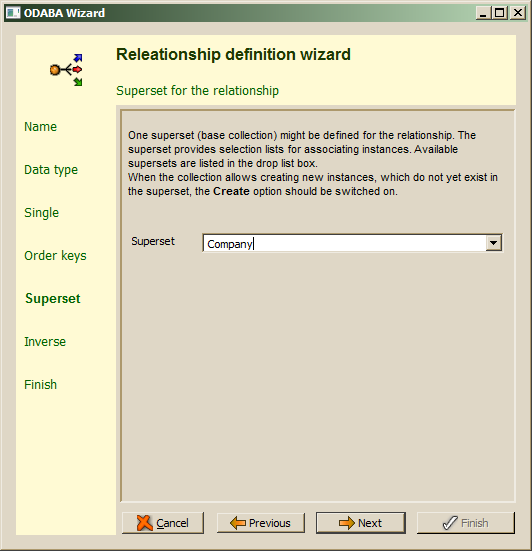
When more than one extents have been defined for the data type, the drop list provides all available extents for the data type. This also includes local collections, which are preceded by a dot'.'. When not defining a superset for the relationship, the relationship is considered to be an owning relationship and referenced instances are deleted when they are removed from the collection or when the owner instance is deleted. In order not to define a superset.the Superset field has to be cleared. before continuing with Next.
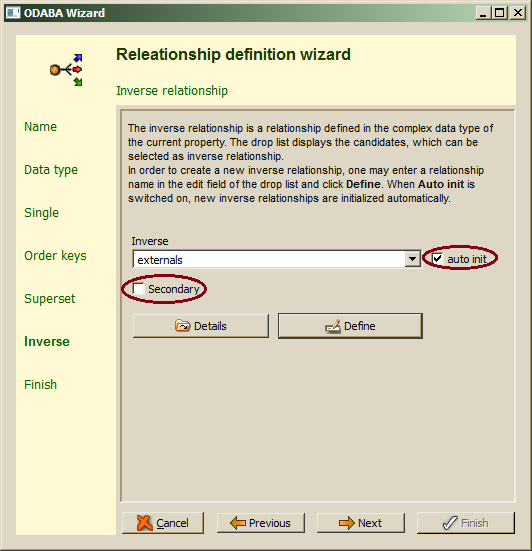
The inverse relationship becomes member of the relationship type. When auto init is switched on (default), the member properties for the inverse are generated properly, i.e. one only need to enter a name for the inverse relationship (or select a candidate from the drop list) and click Next to continue. In order not to create the inverse relationship automatically, the auto init option should be switched off (not suggested). For defining and browse the new relationship explicitly, the Define button might be pressed, which allows e.g. correcting the cardinality (dimension), which is initialized wit 0 (undefined) but should be set to 1, when only parent instance can be referenced in only in related object instance.
Relationships might be marked as secondary relationships by switching on the Secondary option. When copying an instance, usually only primary relationship collections will be copied with the relationship.
While creating an inverse relationship, several messages may appear in the ClassEditor output area informing you, that the related data type definition has been modified. Since the wizard runs in a transaction, these modifications are not stored, when the wizard is canceled.
The Next step leads to the final confirmation of changes:
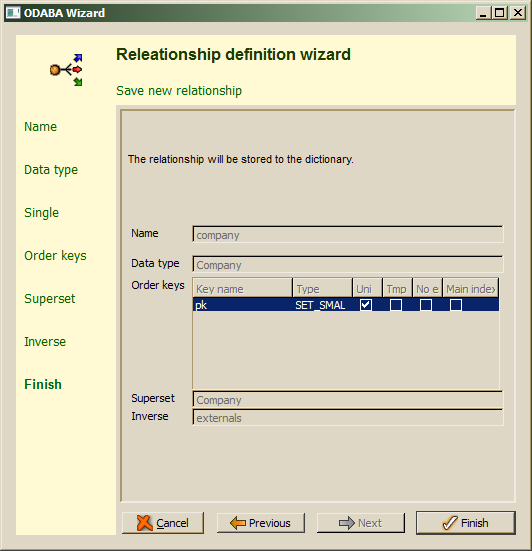
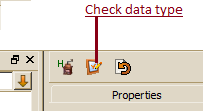 After confirming the wizard action with Finish, changes made on the current data type (and on the related data type) are stored to the resource database. For updated complex data types the ready and checked mark are reset and the data types are displayed orange in the class tree instead of green. Updated data types need to be checked before being used in the application. One may use the check button above the member list for checking the selected data type.